Private Health
| Step One: To process a health fund claim transaction from the home screen, swipe or tap a patient’s membership card on the terminal. Alternatively for Health Funds that allow key entry, you can manually enter the card number by tapping Enter health card on the home screen. Note: Patients with digital health fund membership cards can use their Android or Apple devices to commence a claim. Note: Some of the HICAPS participating health funds will not be supporting Wi-Fi or mobile terminal claiming. Claims processing is supported by all participating health funds when the terminal is Bluetooth paired with the base, with an ethernet cable connected. A list of the participating health funds that support mobile transactions is available on www.hicaps.com.au/partners/participating-health-funds  |
| Step Two: Select a health care provider from the list, or search for a provider by entering part of the provider’s name or ID in the search bar. Note: This prompt will only be displayed if more than one provider is loaded into the terminal.  |
| Step Three: Enter the Patient ID (this is the number next to their name on the membership card) The Patient ID defaults to 01 on the terminal. Tap NEXT to proceed. Note: For digital membership cards, if the patient has multiple members on their card they can get their Patient ID by tapping the ellipse (°°°) on their device or from their health fund’s app.  |
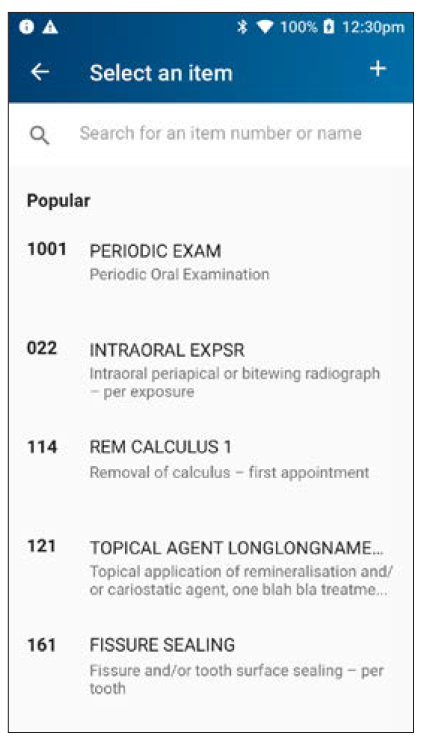
| Step Four: |
Select the claim item or search for items by number or
name. As you type in the Search field at the top of the
screen, options will be displayed. Tap on the relevant item
to add it to the claim.
 |
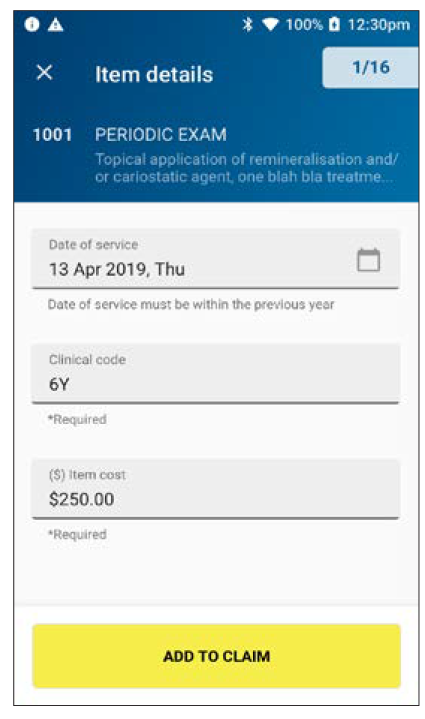
| Step Five: |
Enter clinical code if required, enter the amount for the
item and tap to proceed. When all details are complete,
tap ADD TO CLAIM.
Note: The item cost will display the amount that was last
used for that item. The first time you use an item, you will
need to add an item cost amount.
The date of service defaults to the current date. Use the
calendar icon to select another date
 |
| Step Six: |
Before proceeding with approval
to the health fund, details of the
claim will display. From here you
can add, delete or modify items
and patients.
To add additional items, tap
ADD ITEM. To make a claim for a
different patient, tap Add Patient.
When ready, tap SEND TO FUND.
Note: The first copy of the receipt is
required to be signed by the health
fund member and retained for your
office records. The health fund may
require you to produce it |
| Step Seven: |
The claim will be sent to the
member’s health fund for
assessment.
After the claim has been
processed by the fund, the claim
summary will be displayed.
If there is a gap payment to be
paid, it will be displayed here.
Tap PAY to continue, or use the
“Additional Sale” drop down to
add to the sale amount
(See STEP 8). 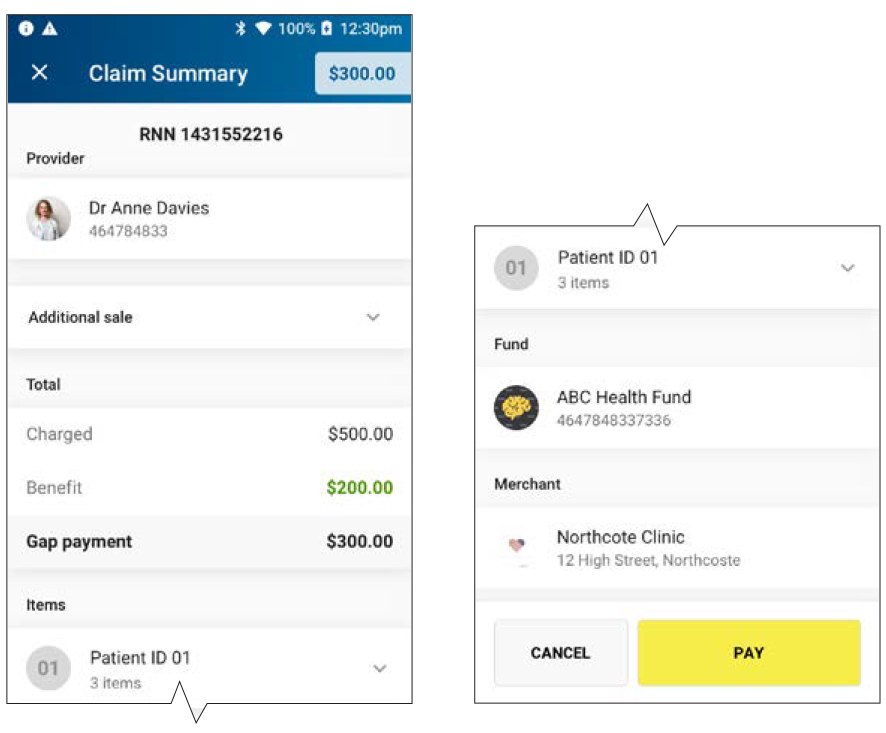 |
| Step Eight: |
Additional sales can be added to the transaction
prior to payment of any gap payment.
Tap on the Additional sale drop down menu to add
an amount for payment. Tap PAY to proceed to the
payment screen.
Note: The additional sale amount will be added
to the gap payment amount. The total payable
amount will be displayed on the payment screen
(See STEP 9). 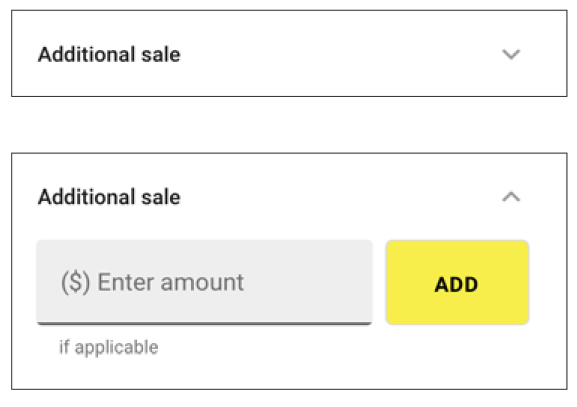 |
| Step Nine: |
Ask the customer to present their payment card to finalise
the transaction. 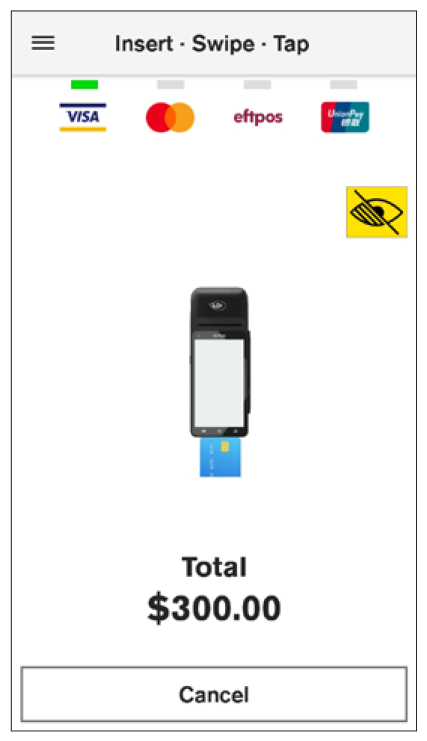 |